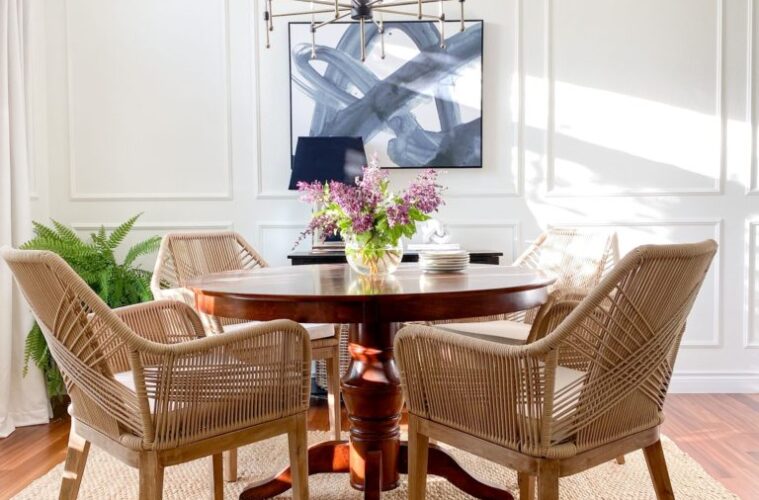
Many traditional and modern homes don’t have any architectural character like picture frame moulding. It not only looks exceptionally beautiful but also complements even a minimalistic décor. When you buy custom frame pictures from renowned frame sellers such as Universal Arquati, it takes the aesthetic appeal of your home to the next level.
Installing picture frame moulding is a high-impact project you can complete within 2 days. Here is a rundown of steps you can use to install frame moulding.
Picture Frames Moulding Suppliers
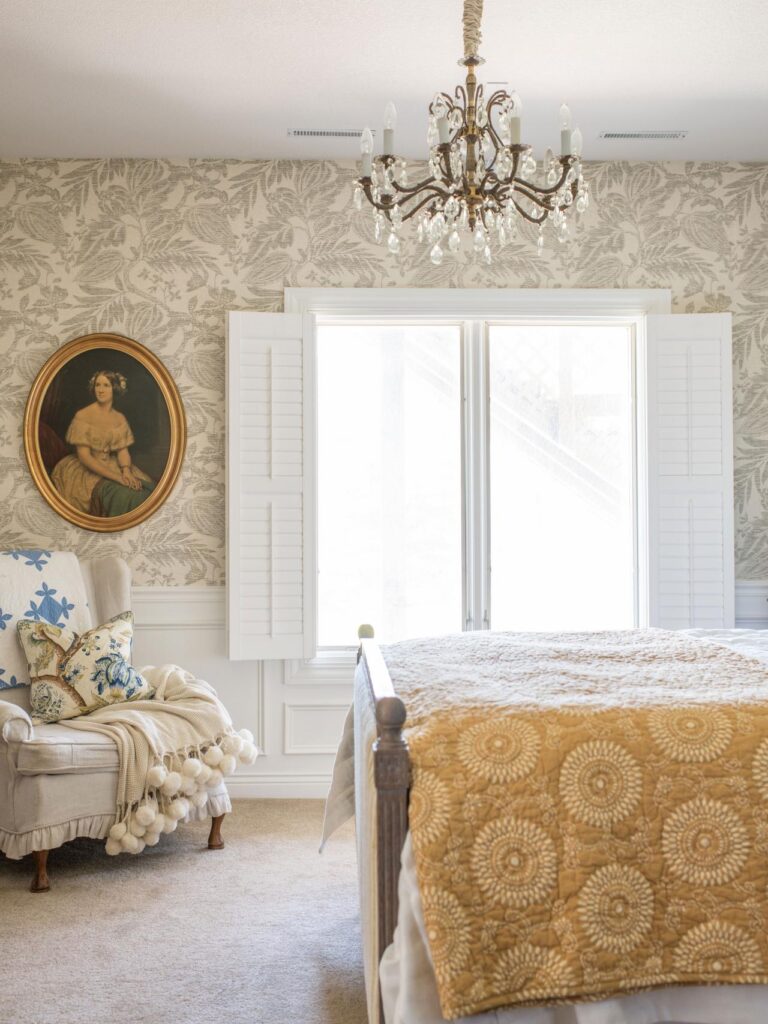
source: somuchbetterwithage.com
In general, the cost to install picture frame moulding ranges between $4 and $15 per linear foot. The cost also includes material and labor charges. If you hire a carpenter who comes outside the service region, the charges can go higher.
However, it doesn’t mean that you can’t install picture frame moulding yourself. If you know the basic carpentry, you can install custom picture frames without professional help. All you need is the following picture frame supplies:
- Chair rail moulding
- Miter saw (hand saw)
- 1-inch decorative wood trim
- Pencil
- Level
- Eye protection
- Nail gun and finish nails
- Hammer
- Woodblocks
- Paintable caulk
- Spackle
- Trim paint
- Primer
- Trim roller
- 2-inch angled-sash brush
How to Install Picture Frame Moulding
Measure the Length of the Moulding
The first step to install picture frame moulding is to measure the frame piece to make sure it is the length you need for the wall. After that, you need to gauge the dimensions of vertical and horizontal pieces before you cut them. This step is important before you begin the installation process of custom picture frames. Measuring the moulding length of all the pieces makes it easier to cut them.
Use a Miter Saw to Cut Each Piece
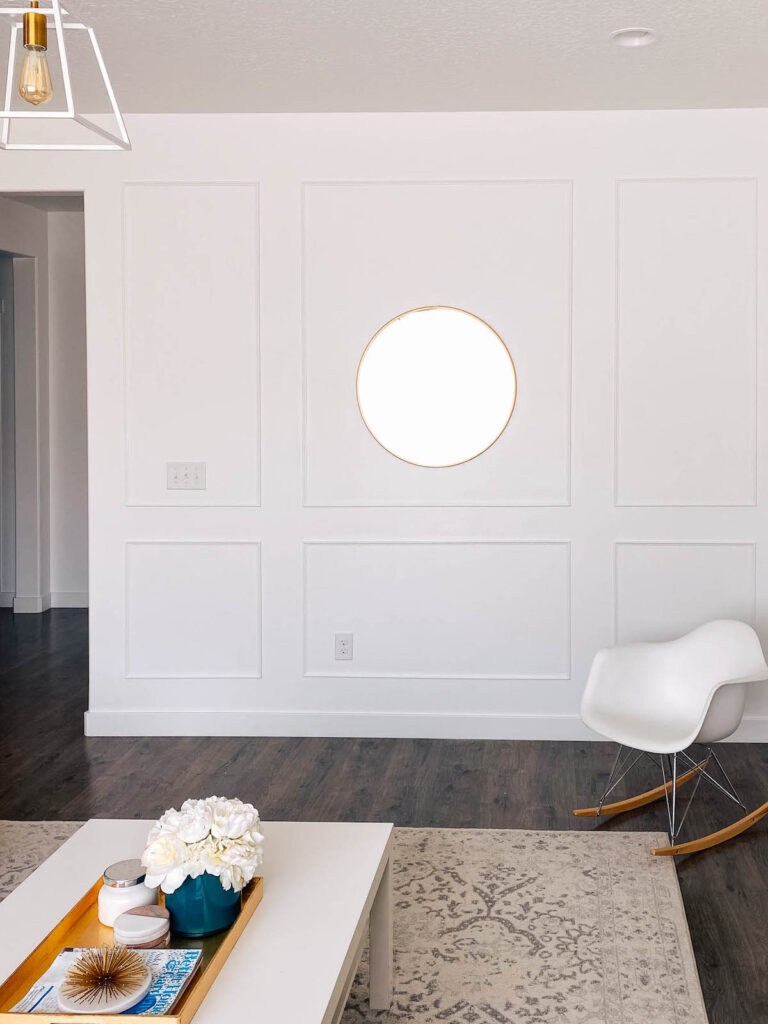
source: loveloveloveblog.com
The next step to installing picture frame wall moulding is to cut each piece. You need a miter saw to cut the pieces equally. Set the device to 45 degrees and cut to the outside of the mark you made. It ensures that you make the right cut on the piece.
Once you have cut all the pieces in the same direction, turn the miter to 45 degrees in the opposite direction. If you need more measurements, make the marks and cut the fine pieces to make an angle on the ends.
Nail Frame Moulding to the Wall
Nailing the frame moulding to the wall requires you to use the spacer to measure the distance between each frame. After measuring, use a nail gun to fix the piece of wall. Start with the corners and nail each piece by leveling it carefully.
If you need the pieces to stick to the wall firmly, use wood glue before you attach them. But make sure you use the glue in the right place; otherwise, you will end up getting a pretty messy wall and need to adjust it later. Construct picture frame moulding one by one.
Fix Protruding Nails
When you attach all the wall frames, check them thoroughly and fix any nail protruding from the wood. You can use a hammer or nail setter for this job. It will make your picture frame wall moulding secure for a long time.
Fill all the Nail Holes
Nail holes look unattractive if left empty. The best way to get rid of them is to fill the hole with wood filler and let them dry.
Sand Down the Filler
source: hgtv.com
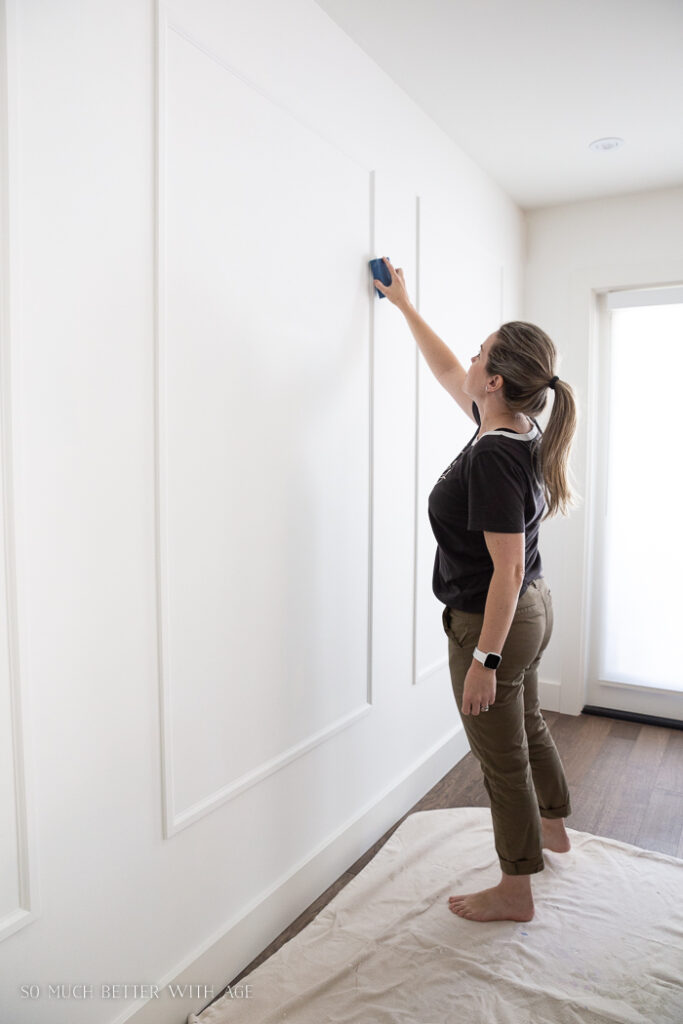
When your wood fillers in the holes are dry, smooth out the pieces with a 180 grit sand block. As picture frame moulding is curved in shape, you might need to scrape out the residue with a toothpick.
Caulk Around the Outer Edge
After applying wood filler, it is time to add a bead of caulk around the outer edge of your wall frame. Let it dry and then wipe it with a finger or baby wipe. Do each side of the frame carefully to make sure you take out all the excess caulk. After completing the outer edges, you need to caulk the edges from the inside.
Sand the Trim
You need to wait for 5 to 6 minutes for the caulk to set and dry. Once it is completely set, smooth out the excess trim or caulk residues using the 180 grit sanding block.
Apply Primer
Your picture frame moulding is all set for the primer now. You can apply at least two primer coats with the help of a roller or paintbrush. Once applied, allow the primer to set and dry.
Paint Picture Frame Moulding
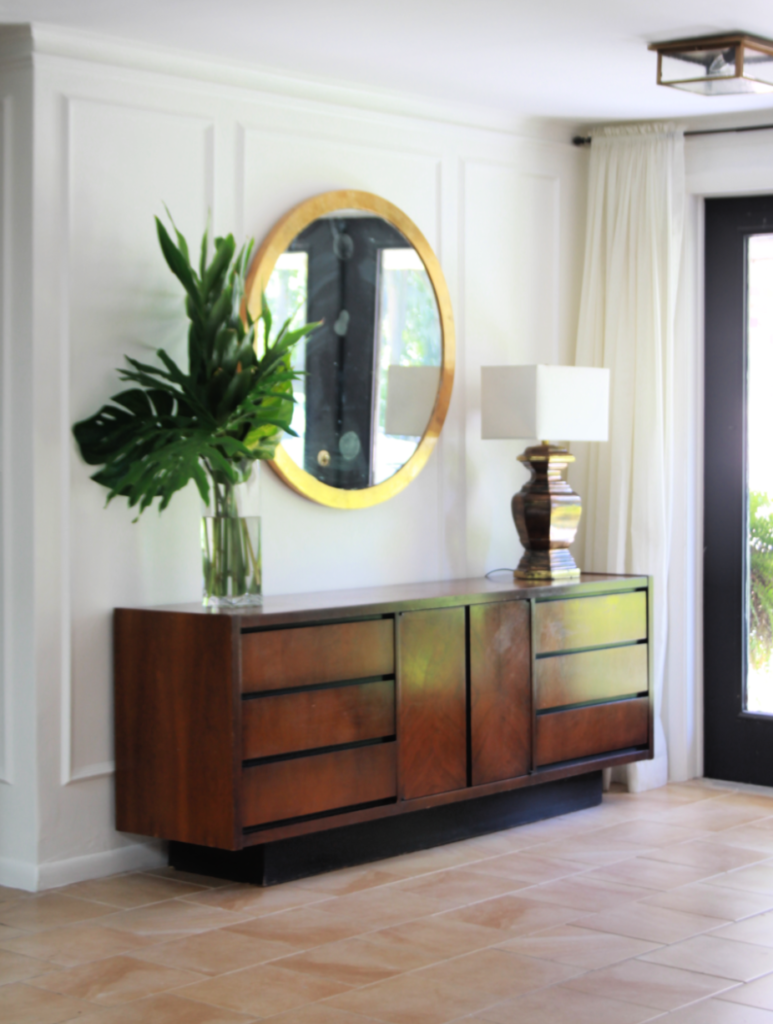
source: mimzyandcompany.com
When the primer is completely dry, it is time to paint the frames. Apply at least three coats to the pieces and let them dry. It is worth mentioning that if the color of the wall and the color of the wall moulding are different, make sure you paint the wall first and then attach the moulding. You will have to paint the mouldings once you attach them.
Tips to Install Picture Frame Moulding
Measure Trims before Cutting Them
Keep in mind that not all trim pieces are of uniform length. It is always better to take the measurement of the entire piece before cutting. It will help you determine the number of frames you can get from the wood.
Order Extra Moulding
If you plan for just one moulding, the length might not be enough. It is because you can lose the length when making 45-degree angle cuts. Make sure you order more moulding that you think you will be using.
Make the Cuts Slowly
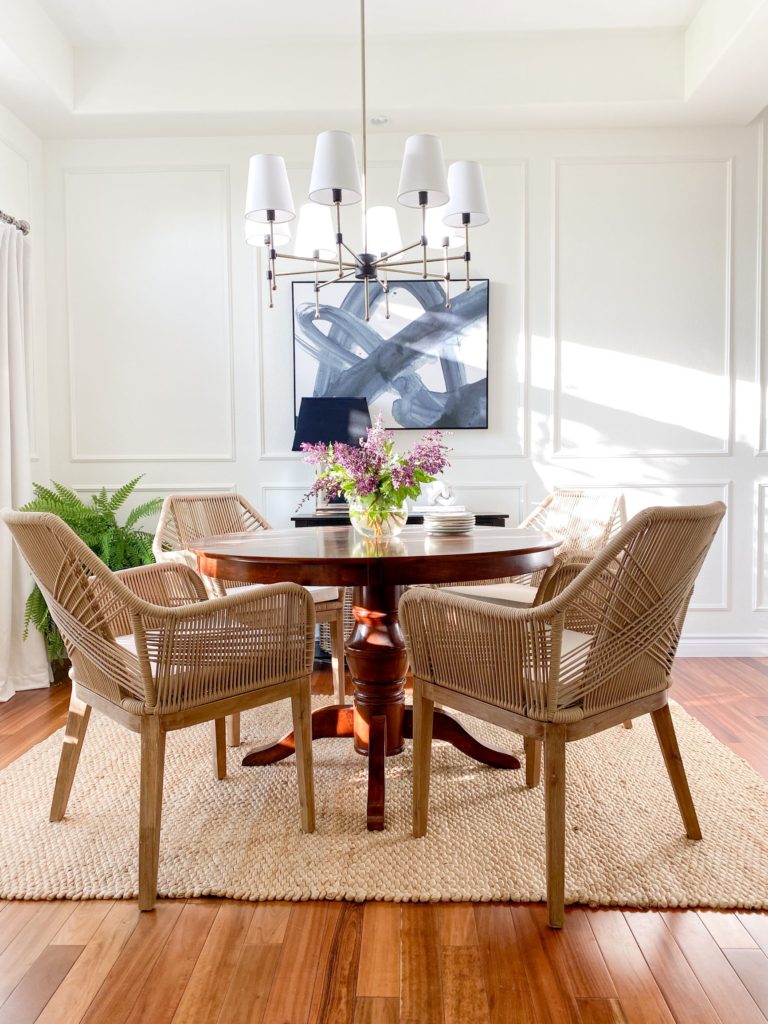
source: jane-athome.com
The best way to cut the moulding is to make slow and steady cuts to prevent break and chip.
Summing Up
All in all, you can install mouldings with a few picture frame supplies and transform the look of the wall. Contact picture frame moulding experts at Universal Arquati at 800-668-3627 or fill out their online form to explore the picture frame mouldings you can use to install in your home to improve your home’s décor.

